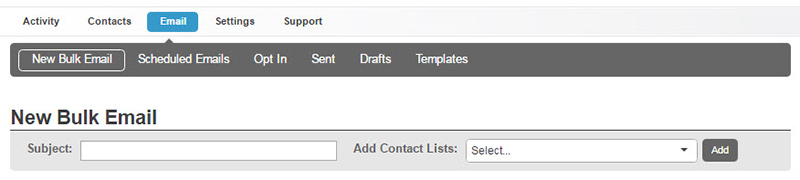
Once you go to Send or Schedule a New Bulk Email, you can see the progress of your email sends in a few different areas of the Email area. To get to this area you’ll have to be in the Contacts area then click the ‘Email’ button on the navigation bar.
Once you’ve created a new email you have two options while scheduling: Send Now and Schedule for a future date and time.
If you’d like to Send your email right away, simply leave it set to ‘Now’, then click the green ‘Send’ button at the bottom.

If you want to Schedule an email you can click the ‘Now’ button and a calendar will drop down. Simply select the date, and then an area for you to set a time will both come up. Then click the green ‘Send’ button at the bottom.

Whether you’ve chosen the Send Now option or to Schedule an email you will see your queued emails in ‘Scheduled Emails’ area on the grey navigation bar. If you go into this area, you can see the date an email is set to send out. *Note – If you choose to Send Now that email will send out in the next 5-minute increment. So if it’s 1:02 PM your time, then your email will be sent out at 1:05 PM.

All of your sent emails will show up under the ‘Sent’ tab on the grey navigation bar in the Email area. This section allows you to see all of your previous emails. You can see any statistics for each send by pressing the ‘Stats’ button next to each email. You can also choose to ‘Resend’ an email if it was successful or if you’d like to use it as a template for future sends.

The integrated Email tool is one of the most essential parts of RenMind Wire. Getting to know the interface and how to track your emails will help you to get the most out of it by seeing which messages delivered the biggest impact. Once you start gauging how well you’re doing, you can only improve how you communicate with your connections.


